Pinhole photography has a special appeal among analogue photographers, and it’s easy to see why:
- Simplicity & Purity – A pinhole camera has no lens, no focus mechanism, and minimal controls. You’re working with light and time directly, which connects you to the essence of photography.
- Creative Freedom – The softness, wide depth-of-field, and subtle vignetting give a dreamy, painterly aesthetic that’s difficult to replicate with conventional lenses. Each image has a unique character.
- Playfulness & Experimentation – Because exposures are longer, you can experiment with motion, layering, and light trails. Pinhole encourages playful exploration rather than technical perfection.
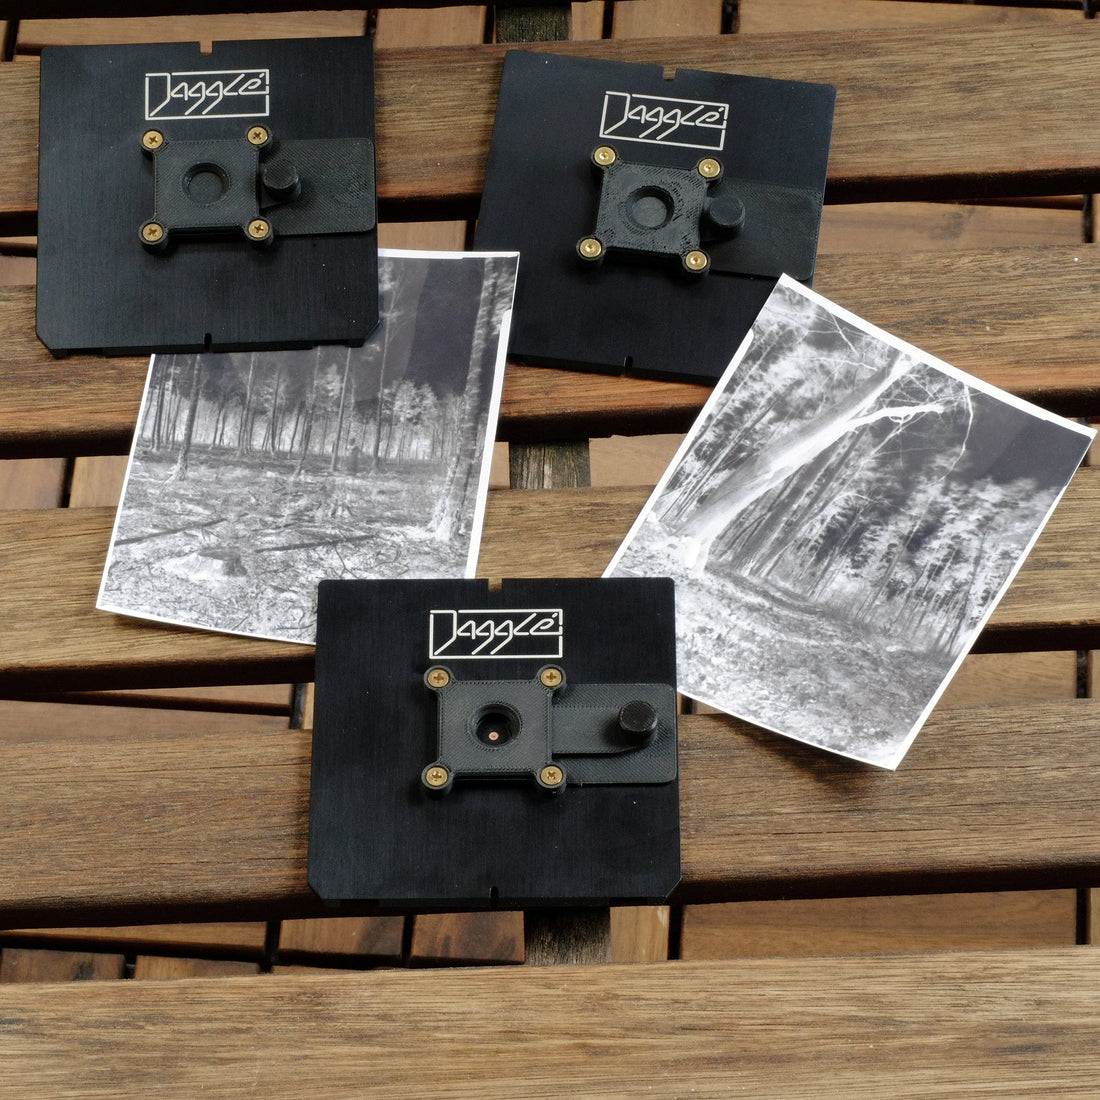
- Low Cost & Accessibility – Almost any light-tight box can be converted into a pinhole camera. For large format users, pinhole lensboards like Jagglé’s pinhole lensboards make it simple to try pinhole photography with sheet film.
- Mindful, Slow Photography – Composing for long exposures forces patience and observation, giving photographers a meditative, deliberate workflow.
Many photographers describe pinhole photography as “magical” because the results often surprise you — the imperfections and unique optics become part of the charm.
Typical Pinhole Workflow
Pinhole photography workflow is delightfully straightforward, but still benefits from planning and experimentation:
- Choose Your Camera – Large format cameras, 4×5 or 8×10, are common for serious work. For small-format experiments, you can make or buy a simple box camera. Jagglé pinhole boards make it easy to switch pinhole sizes.
- Calculate Exposure – Because pinholes are extremely “slow” (low f-numbers, small aperture), exposure times are usually long.Then determine exposure based on your film ISO or paper sensitivity. Expect exposures from a few seconds to several minutes, or even hours for low-light scenes. Using the table below you can meter at f8 for the correct ISO for your film. Then use the table to find the adjusted time for your pinhole aperture number. Don't forget to adjust for reciprocity when shooting long exposures. The manufacturer datasheet will inform you of the reciprocity of your film.
- Load Film or Paper – Load your sheet film or photographic paper in a darkbag or cassette. Large-format users can work directly with the Jagglé cassette system, which allows development on-site.
- Compose & Expose – Because there’s no viewfinder or lens, you compose using estimation or a simple ground glass. Remove the shutter (or open the pinhole) for the calculated exposure time.
- Develop – Process your exposed material as usual. For black-and-white sheet film, use B&W chemistry; for RA4 paper or reversal work, use the corresponding workflow.
- Enjoy & Experiment – The beauty of pinhole photography is in the surprises: motion blur, soft focus, extended depth-of-field, and light leaks can all become creative tools.
Jagglé Pinhole exposure time cheat sheet:

Conclusion
Pinhole photography is celebrated for its simplicity, unpredictability, and creative freedom. It’s about seeing the world differently: softer edges, extended depth-of-field, and a painterly aesthetic that’s unique to analogue photography.
Whether you’re experimenting with motion, light trails, or large-format sheet film, pinhole photography encourages a slower, more mindful approach to picture-making. Combined with tools like Jagglé’s lensboards and daylight developing cassettes, it’s easy to enjoy the magic of pinhole anywhere — in the studio, the field, or on location.